
...
| Sv translation | |||||||||||||||||||||||||||||||||||||
|---|---|---|---|---|---|---|---|---|---|---|---|---|---|---|---|---|---|---|---|---|---|---|---|---|---|---|---|---|---|---|---|---|---|---|---|---|---|
| |||||||||||||||||||||||||||||||||||||
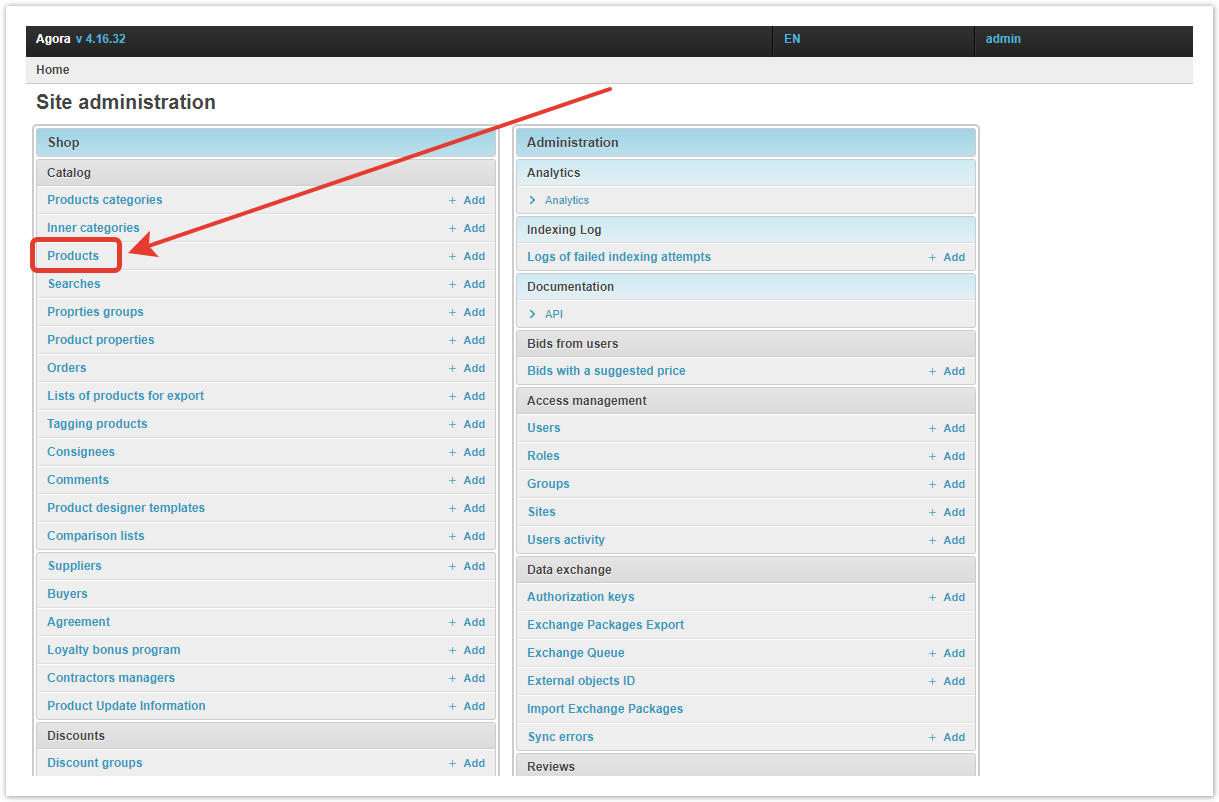
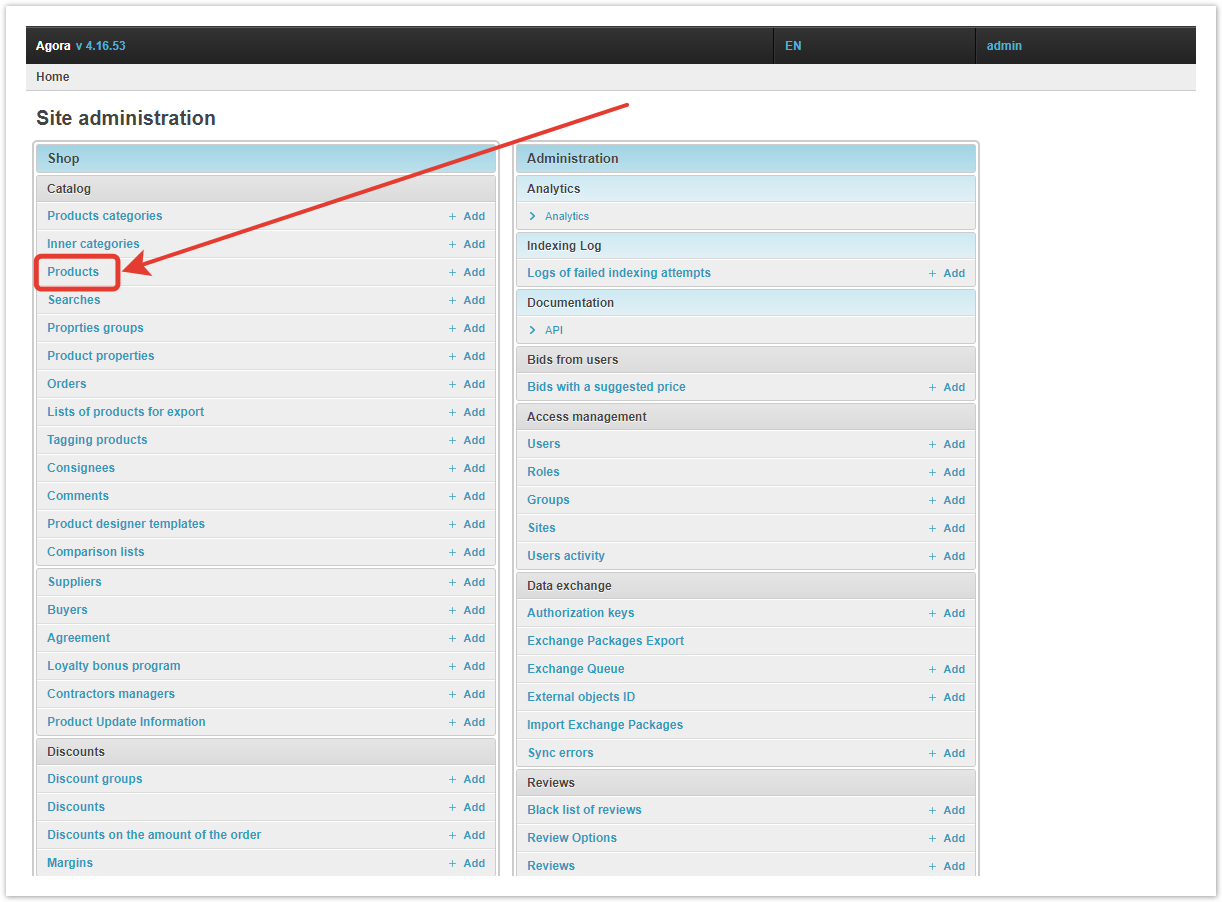
Item managementIn the Products section, the platform administrator can search, sort and filter products, as well as perform bulk operations.
The table contains the most important information about the products. In addition to the articles and names of goods, the table contains the following data: product category, supplier category, reference to the standard, total balance, the product is hidden or not in AGORA, whether the product is a standard, whether the product is placed on the site and the status of its last indexing. More details about the purpose of the table columns are described below, in the Product information section.
If you know the name or article number of the product, use the search bar.
After pressing the
You can change the order and priority with sorting. The first time you click on the column header in the table, the products will be sorted by the selected value in ascending order, the second time they are sorted in descending order. In addition, sorting can be removed by clicking on the «x» button.
To sort by multiple features, click on them in the table header in order from lowest to highest priority.
To use filtering, click on the Filter drop-down menu, and then select the parameters by which you want to filter products.
After selecting the parameters, only those products that meet the selected criteria will remain in the list.
In cases where you need to change any setting for several products, use bulk operations. To do this, select the desired products using the checkboxes, and then the mass operation that you want to apply to them:
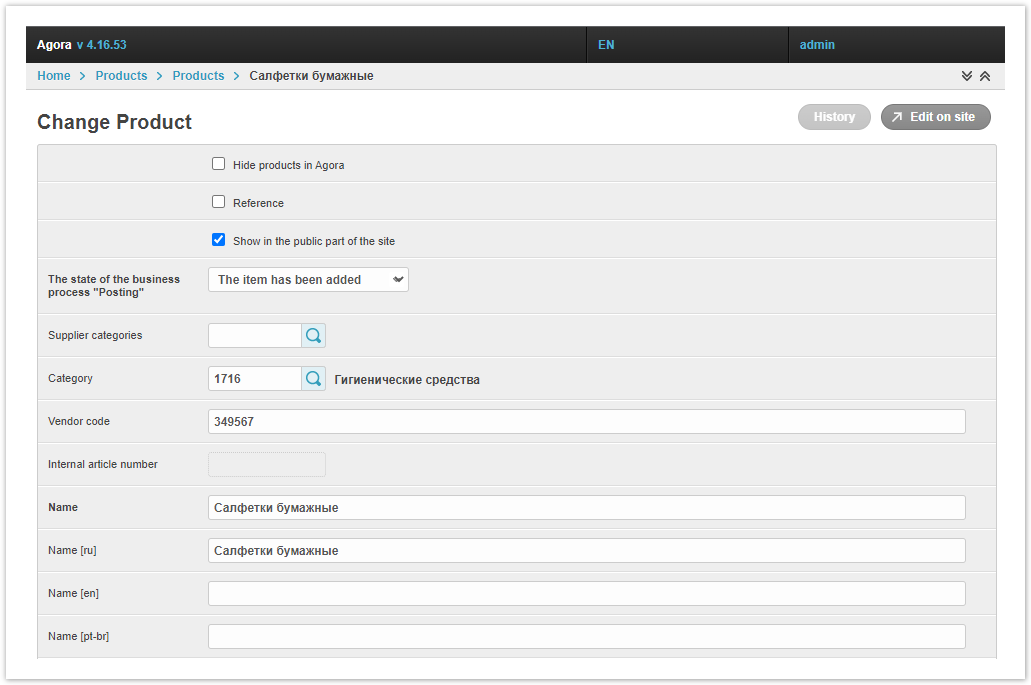
Product informationInformation about each product is in its card. To view or change them, go to the Products section.
In the table that opens, click on the article or name of the product you are interested in.
The edit product page opens.
Hide products in AGORA — checkbox, when checked, the product will not be displayed in the buyer's catalog. Reference — when you select the checkbox, the product will become a reference. If you do not work with the reference catalog or do not want to make the product a reference, leave the checkbox empty. Show in the public part of the site — a filled checkbox means that the product will be displayed in the Open Catalog. Supplier category — the category that was assigned to the product when unloading from the supplier's system/file. Using the Category — the category on the AGORA site in which the product is located. Using the button Vendor code — unloaded from supplier's system/file, but can be changed manually. Internal article number — if you want to assign internal articles to products, please contact AGORA technical support or your manager. Name — the main name of the product, as well as its translations into the languages connected on the platform.
Description — description of the product and its translations. VAT rate — the rate of value added tax that is levied on the purchase of goods. Nomenclature type — shows whether the product is a product or a service. Reference to the reference product card — if the product is linked to the reference card, the field contains a link to it. Related Products — using the search bar, you can add or change the list of products that you can offer to purchase additionally along with the main product. Items-Analogs — using the search bar, you can add or change the list of products that can be purchased if the main product is out of stock.
Related products . For each productand analogues will be displayed in the product card in the recommended block. Since there is only one output block, either related products or analogue products can be added.Items-Analogs — if a product does not use related products, you can add or change analogue productsdisplayed for each product. In this case, you can fill in both fields at once, or just one.
The name of the block for displaying these products can be changed through the Portal settings section in the admin panel.
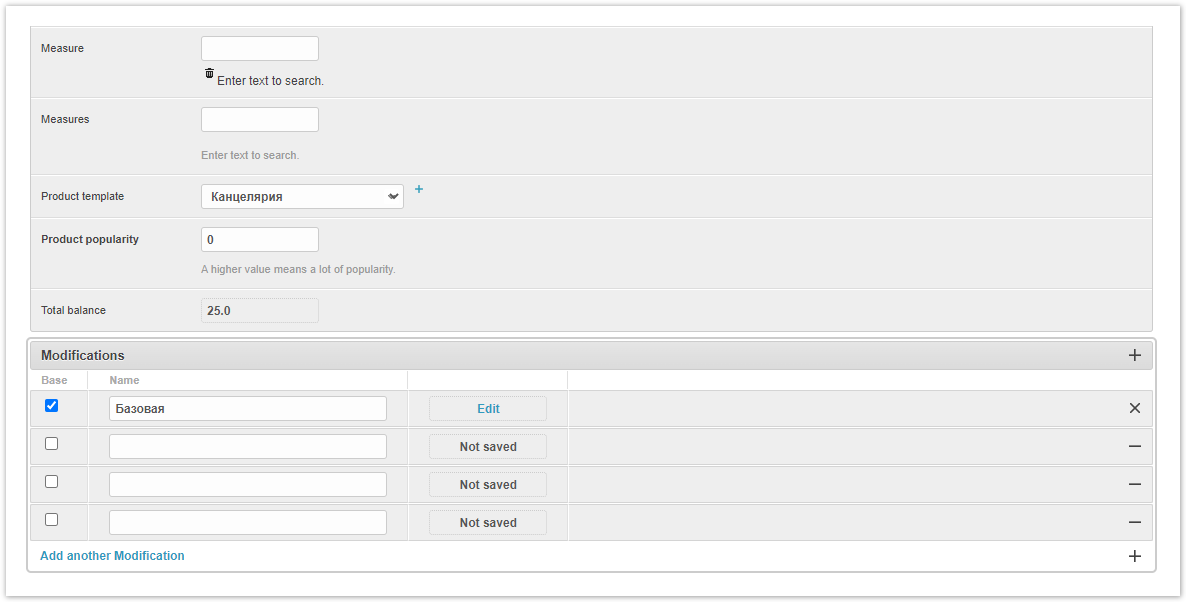
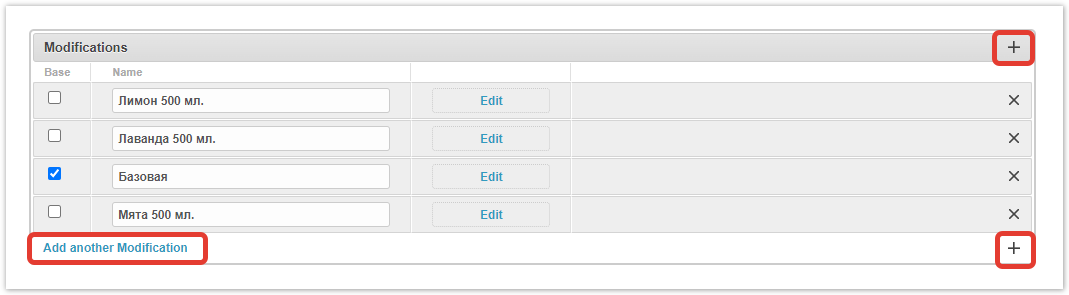
Measure — the base unit of measure that is displayed in the catalog. By default, the unit of measure is set to piece (pcs). Measures — additional units of measure. Read more about units of measurement in this article. Product template — if the project uses product templates, you can add an existing product to the product or create a new one using the “+” icon. Product popularity — calculated automatically if popularity gain is configured. Every Each time a product is included in added to a checkout, its rating increasespopularity increases. If necessary, the popularity value can be filled in manually. Total balance — the total quantity of goods in all warehouses. If a product has several modifications, for example, one model is presented in several colors or sizes, add them by clicking on the Add another Modification button or by clicking on the «+» sign.
It is also possible to change the modification. When you click on the Edit button, a window will open in which you can make the necessary changes.
Already added modifications can be deleted using the «x» button to the right of the modification line.
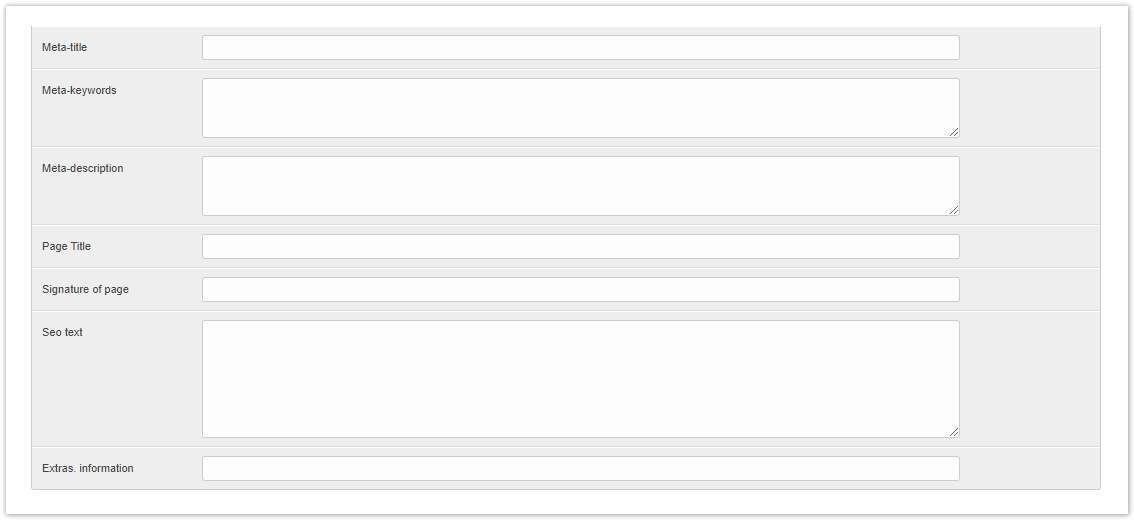
If necessary, add SEO parameters to the product.
In addition, you can add Properties, Series, Files and Tags for a product, similar to modifications.
Properties — used to describe the product in more detail. These may be key parameters by which it will be easier for the buyer to navigate when choosing. Series — product series are displayed. You can manually add a new series. Files — if necessary, upload additional product photos or related documents. Tags — if the project uses product tagging, select the required tags or add new ones using the «+» button. After completing the settings, click the Save button.
Adding products
If you need to create a product manually, click the Add button to the right of the Products section of the project's administrative panel.
In addition, you can go inside the Products section and click on the Add product button.
A form for creating a new product will open, in which you need to enter the necessary data.
|


...