
...
| Sv translation | ||||||
|---|---|---|---|---|---|---|
| ||||||
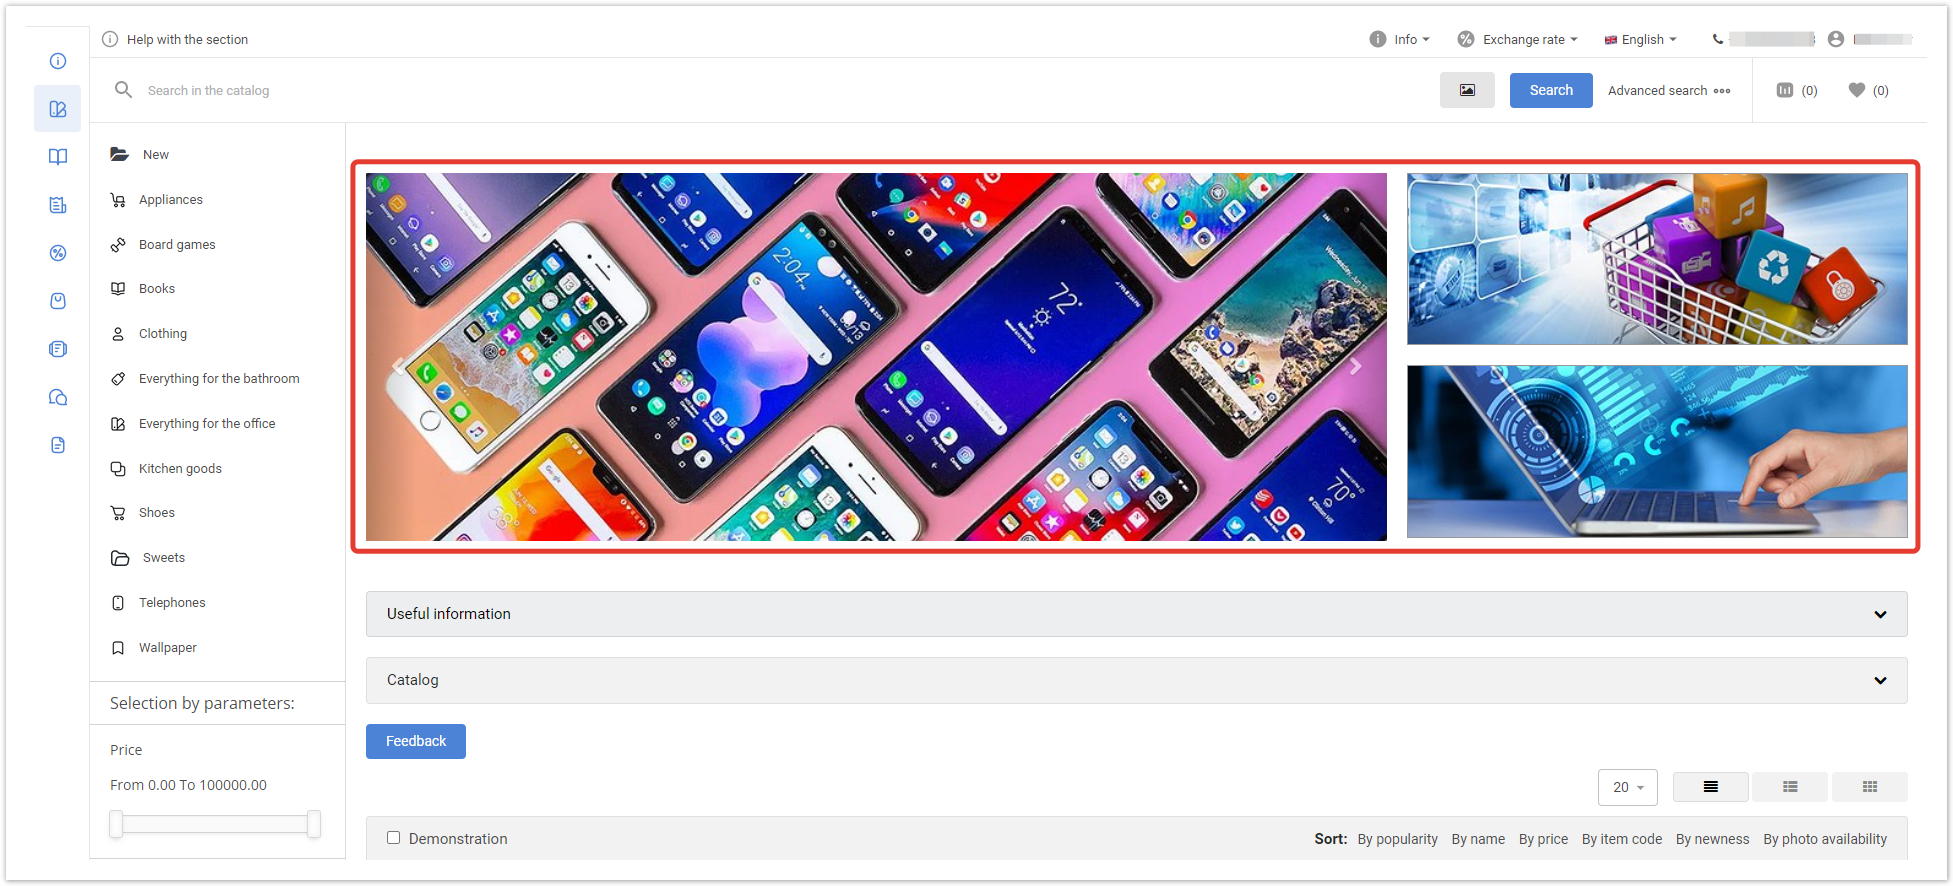
Banners in the catalogIn the catalog, banners are displayed at the top of the page.
You can configure 2 types of banners:
Banner slider — allows you to set several images that are flipped automatically or manually:
Top/bottom banner — a static image displayed without any effects:
For the correct display, it is recommended to use banners of the following sizes:
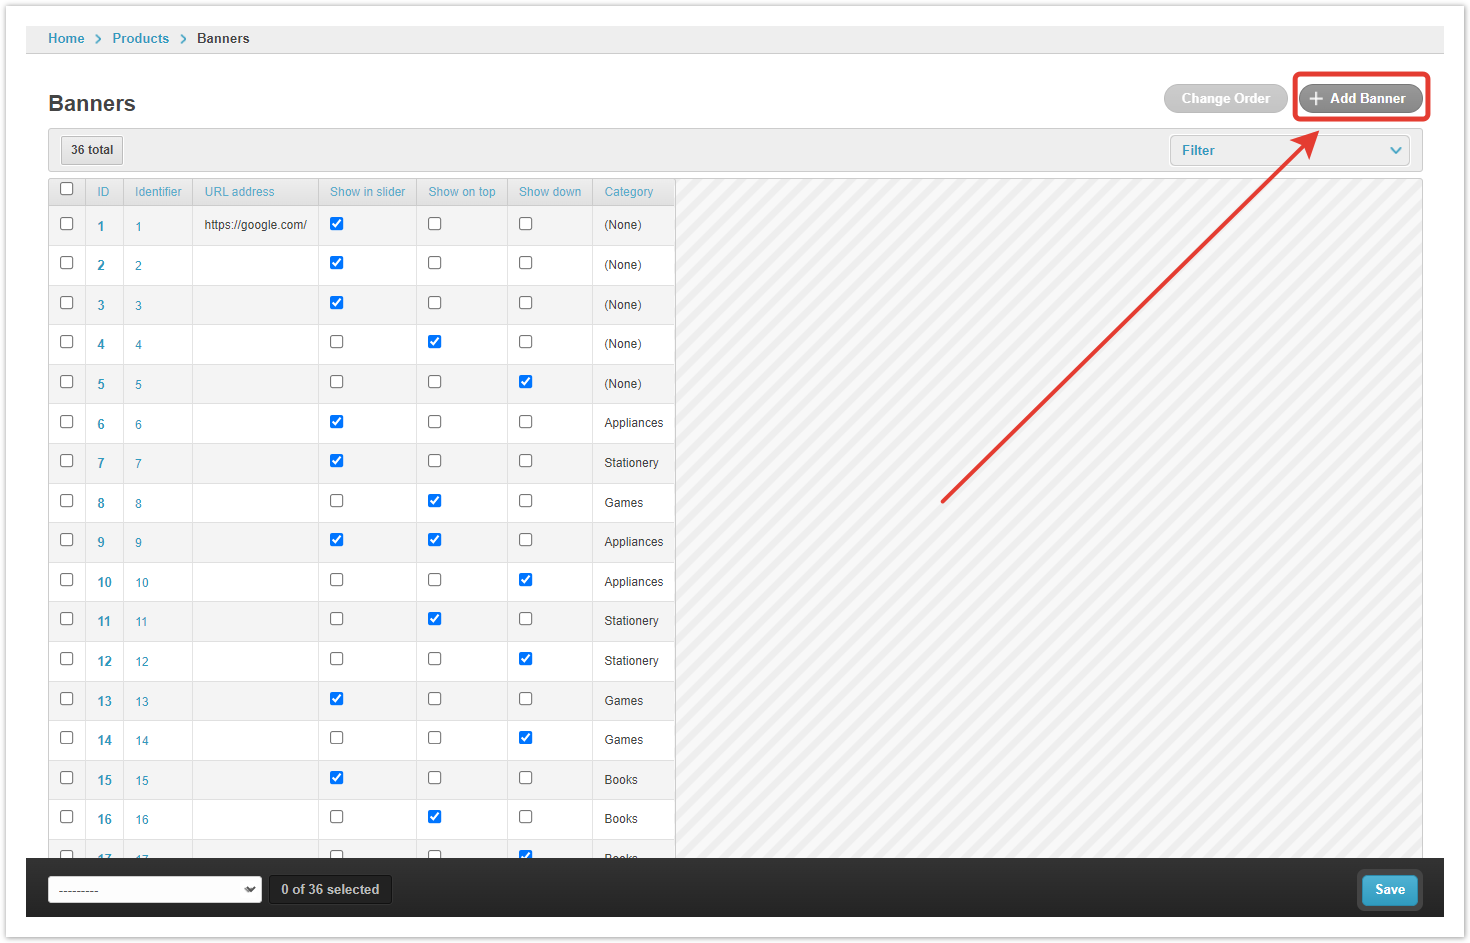
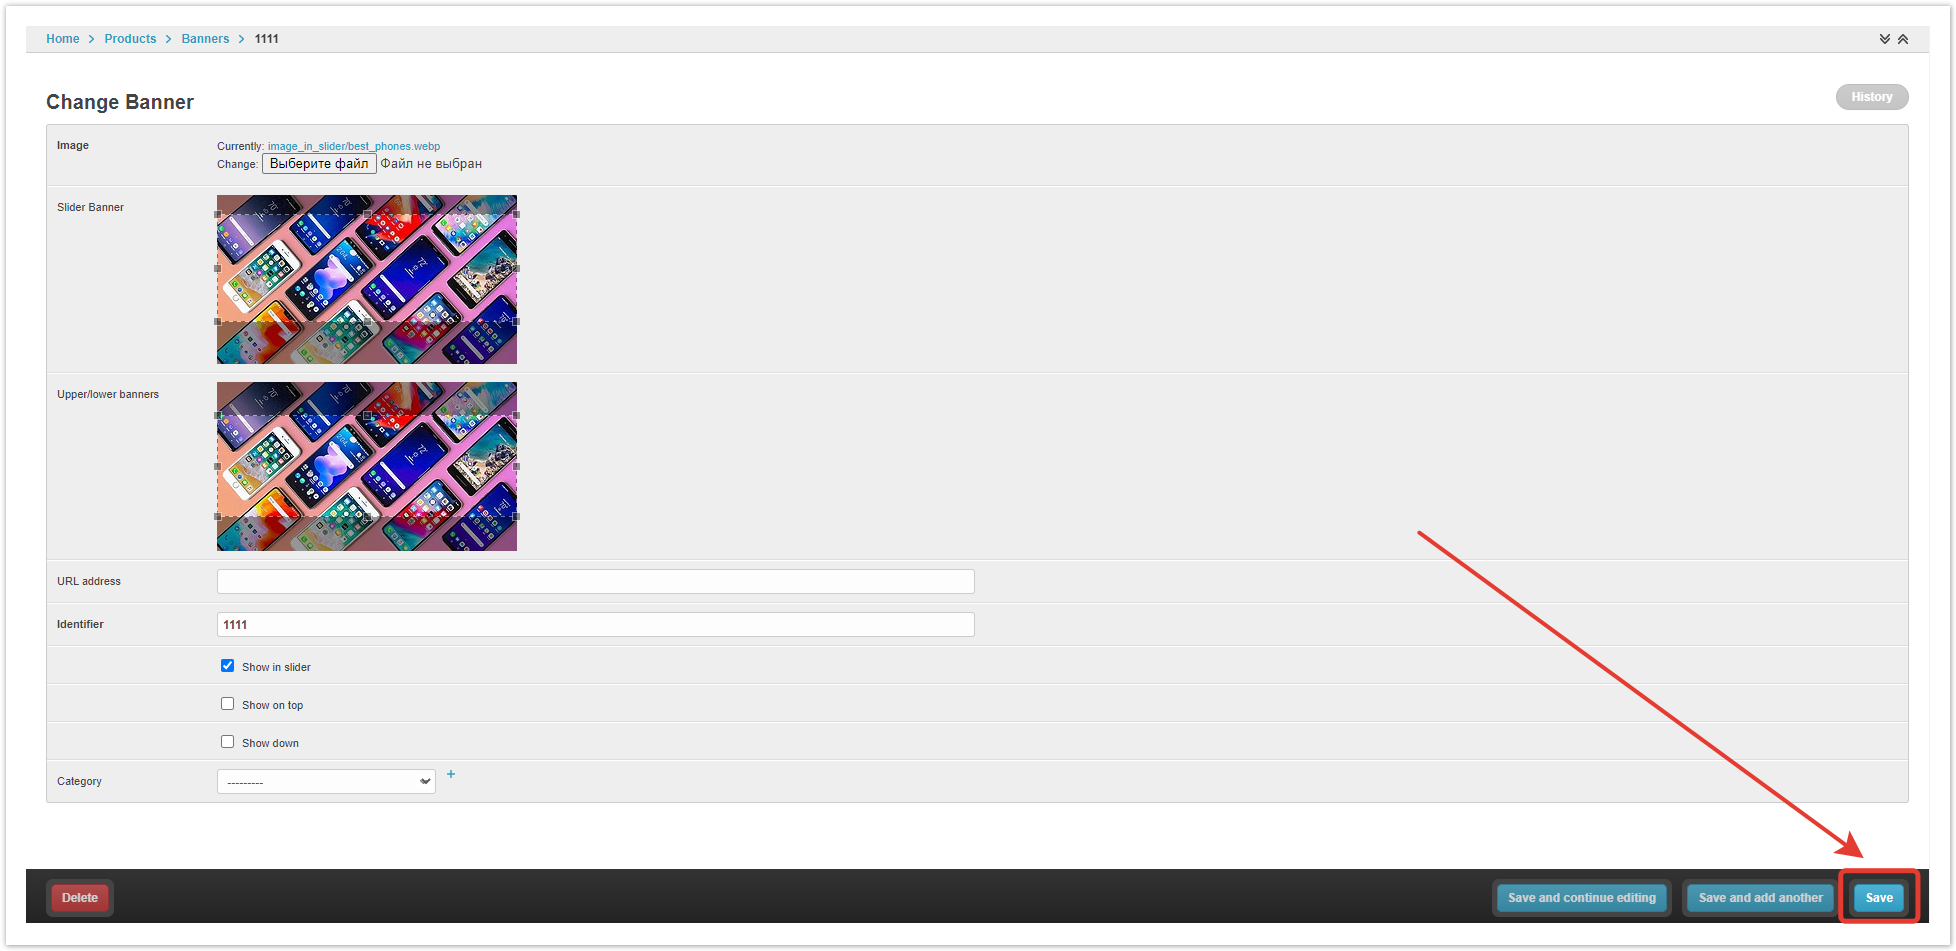
Creating bannersBanners are configured in the admin panel of the project. After authorization in the admin panel, go to the Banners section, then click the Add banner button:
In the window that opens, specify the conditions for displaying the banner.
Image — specify the local path to the file (banner). Slider banner — the size of the loaded image, which will be displayed in the Slides section. Top/bottom banner — the size of the loaded image, which will be displayed in the Banners section (top/bottom). URL — fill in if the banner needs to be clickable, when you click on the banner, it will go to the specified URL. Identifier — a unique value for each banner. This value is necessary for the correct storage of the banner file in the project and for the convenience of managing the banner display settings in the catalog. Show (In the slider/Up/Down) — a checkbox, in accordance with which the logic for displaying banners is set. Category — a category of products, upon transition to which this banner will be displayed. If the product category is not specified, banners will be shown on the Catalog and InfoCenter page. If a product category is specified, then the banner will be shown only on the page of this category in the Catalog. After specifying all the settings, click the Save button at the bottom of the page.
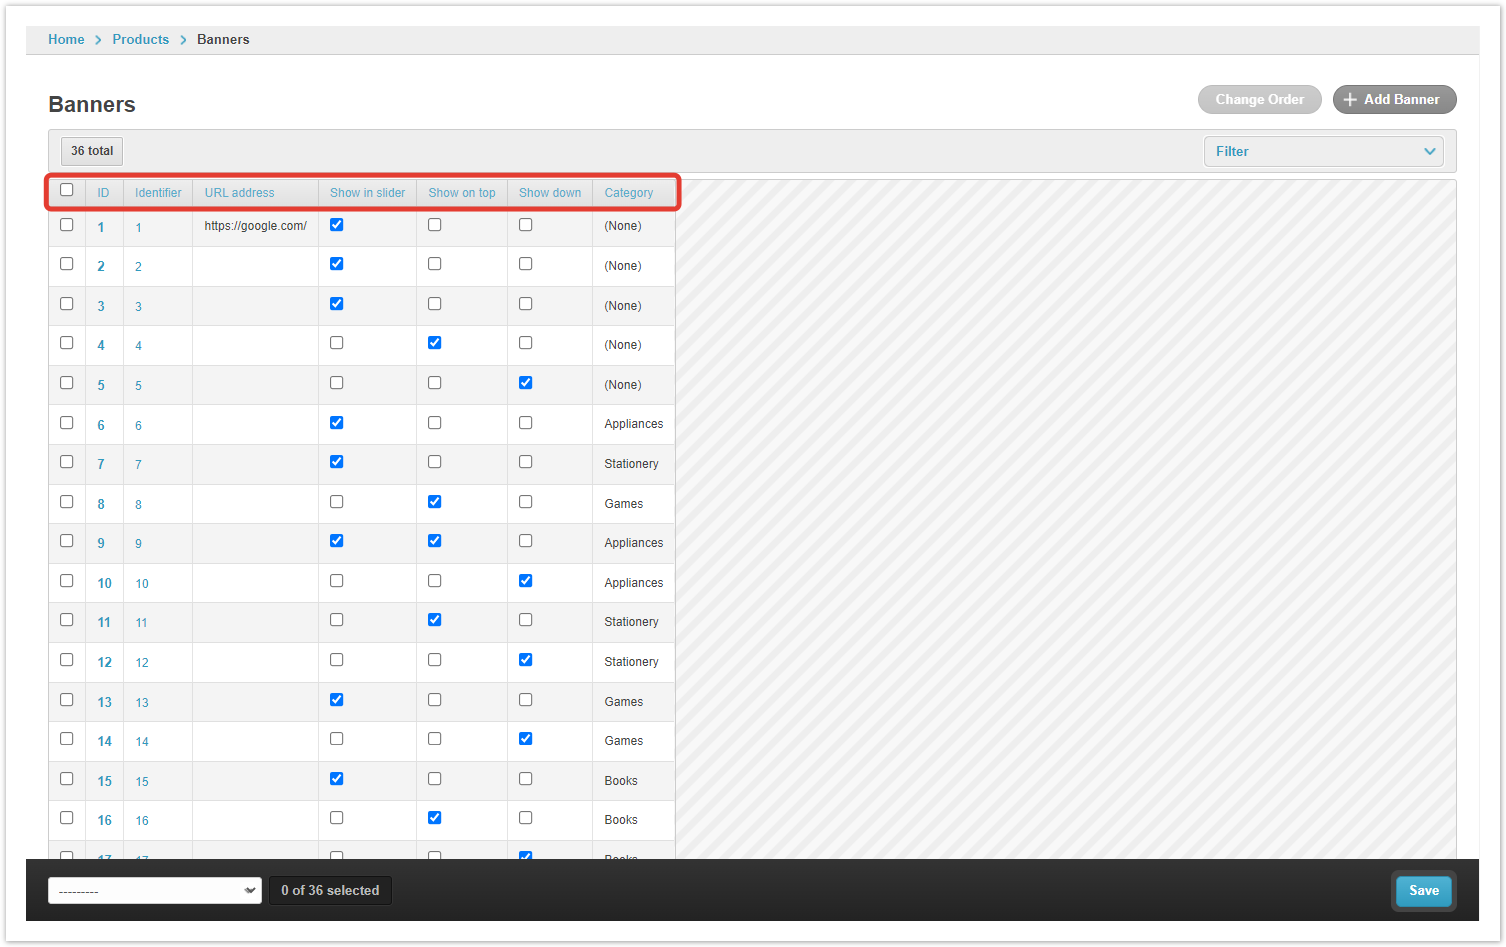
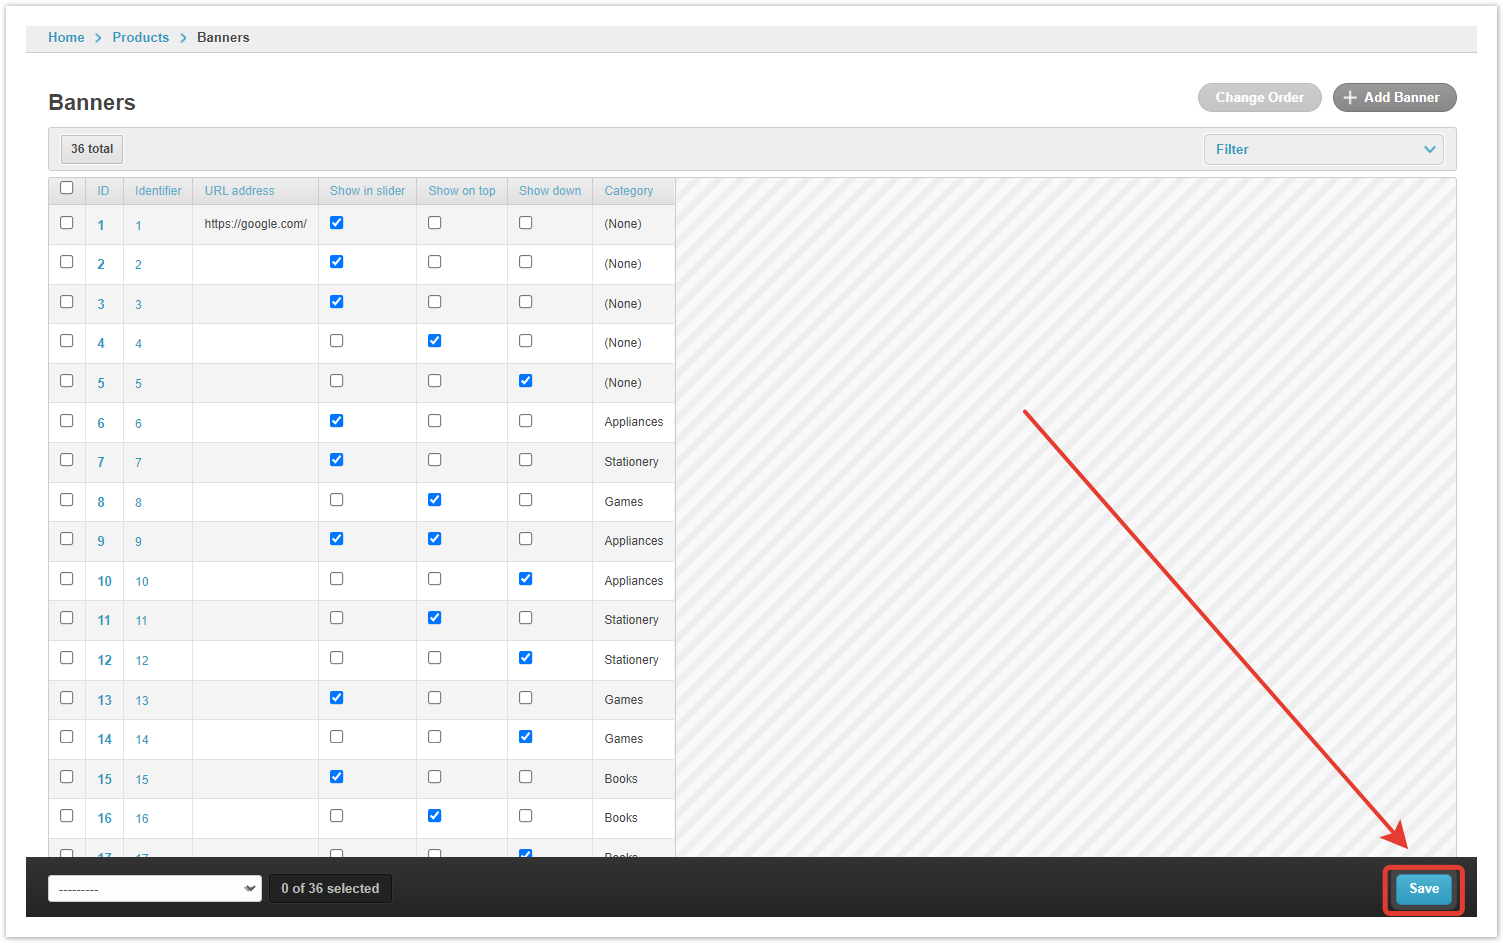
Banner managementYou can see all the settings in the pivot table, as well as control which pages of the project banners will be displayed on using the checkboxes in the Banners section of the admin panel.
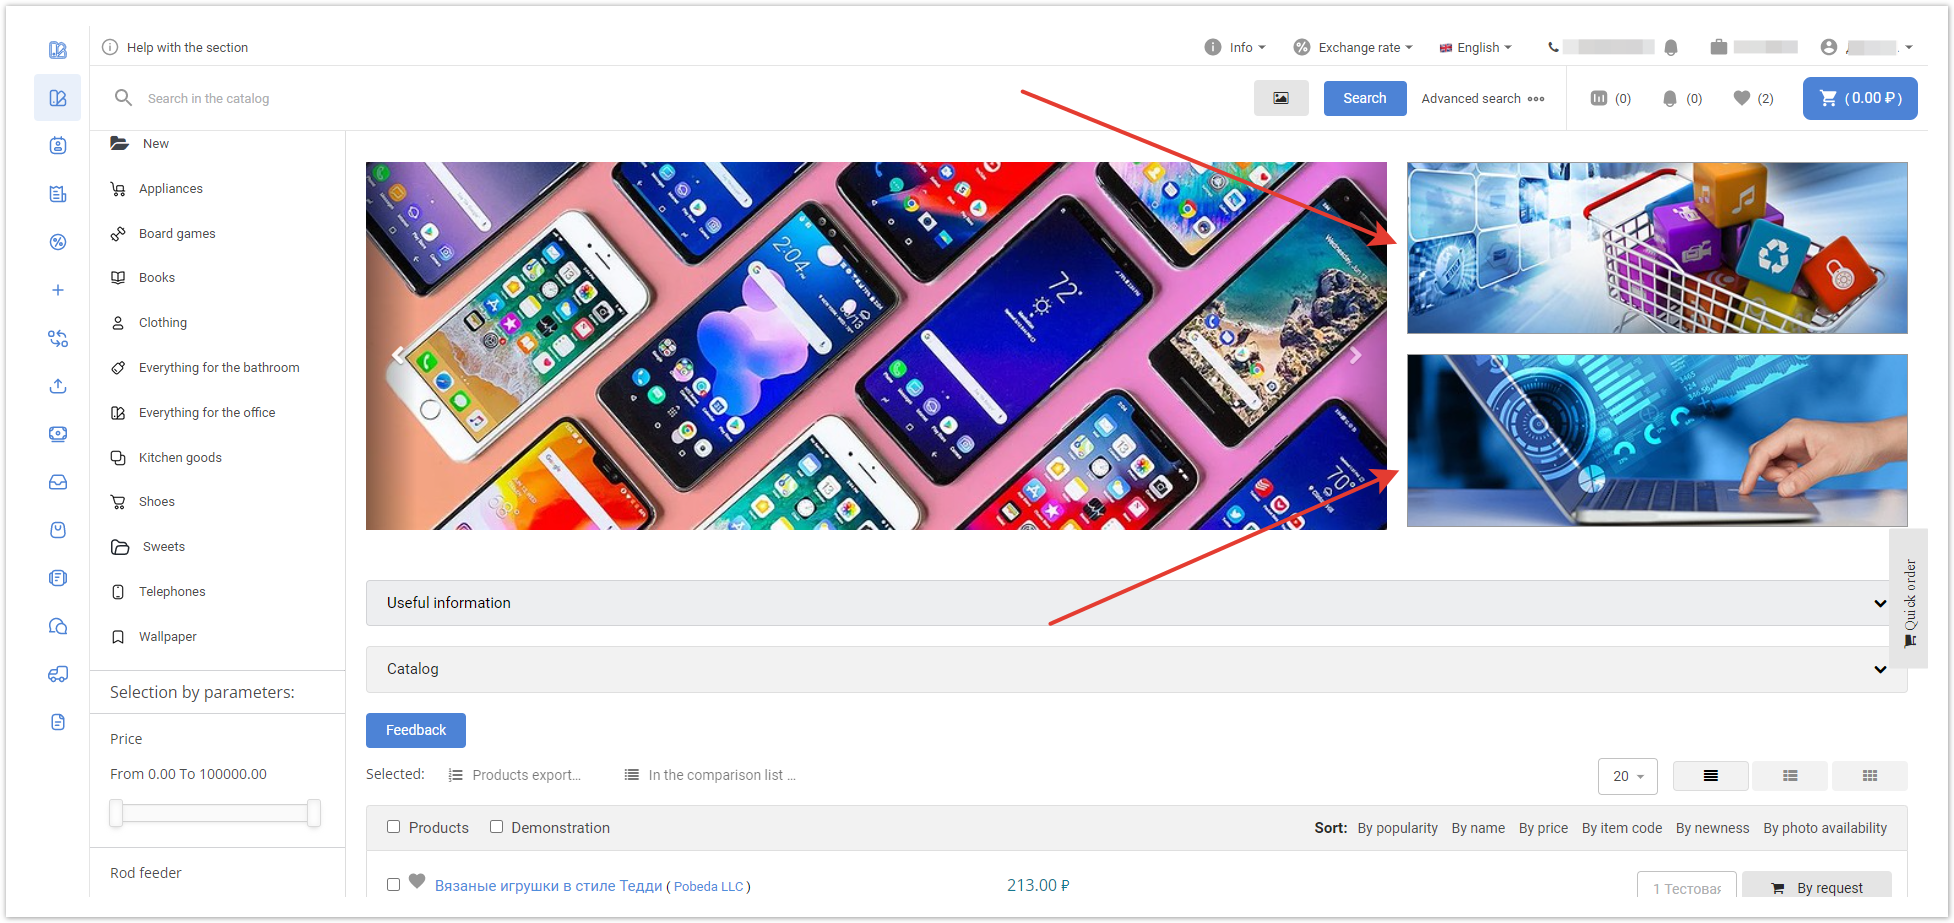
ID — banner number. Identifier — the value assigned at creation for each banner. URL address — the link that will be followed when clicking on the banner. Show in slider — the banner will be displayed in the slider. Show on top — the image will be displayed at the top, to the right of the slider. Show down — the image will be displayed at the bottom, to the right of the slider. Category — indicates in which category of the Agora catalog the banner will be displayed. If set to Nothing, the banner will be displayed in the directory root. When finished with the settings, click the Save button.
It is possible to remove one or several banners using the Delete selected Banners button.
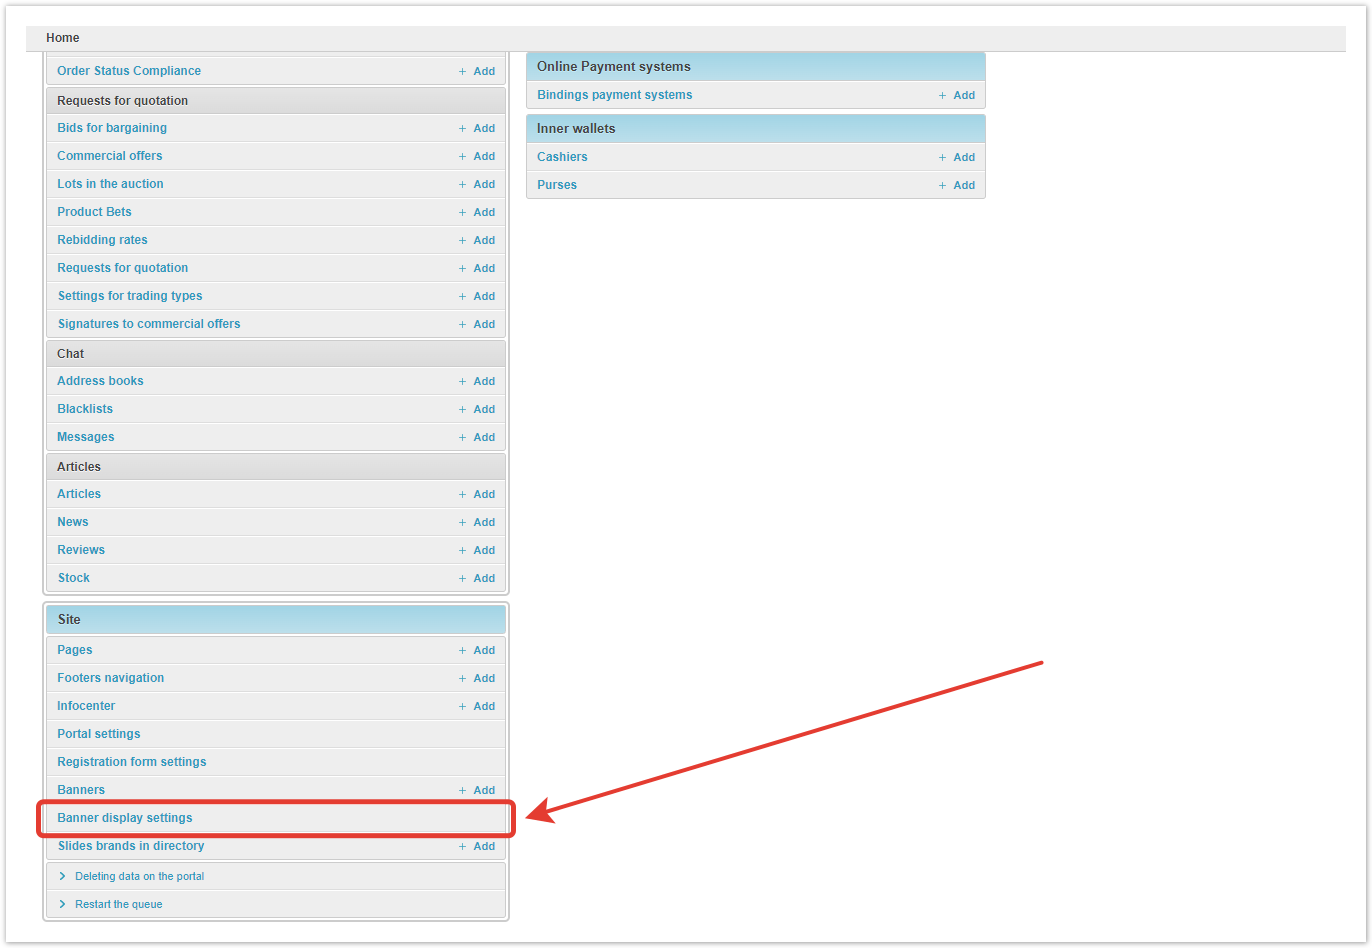
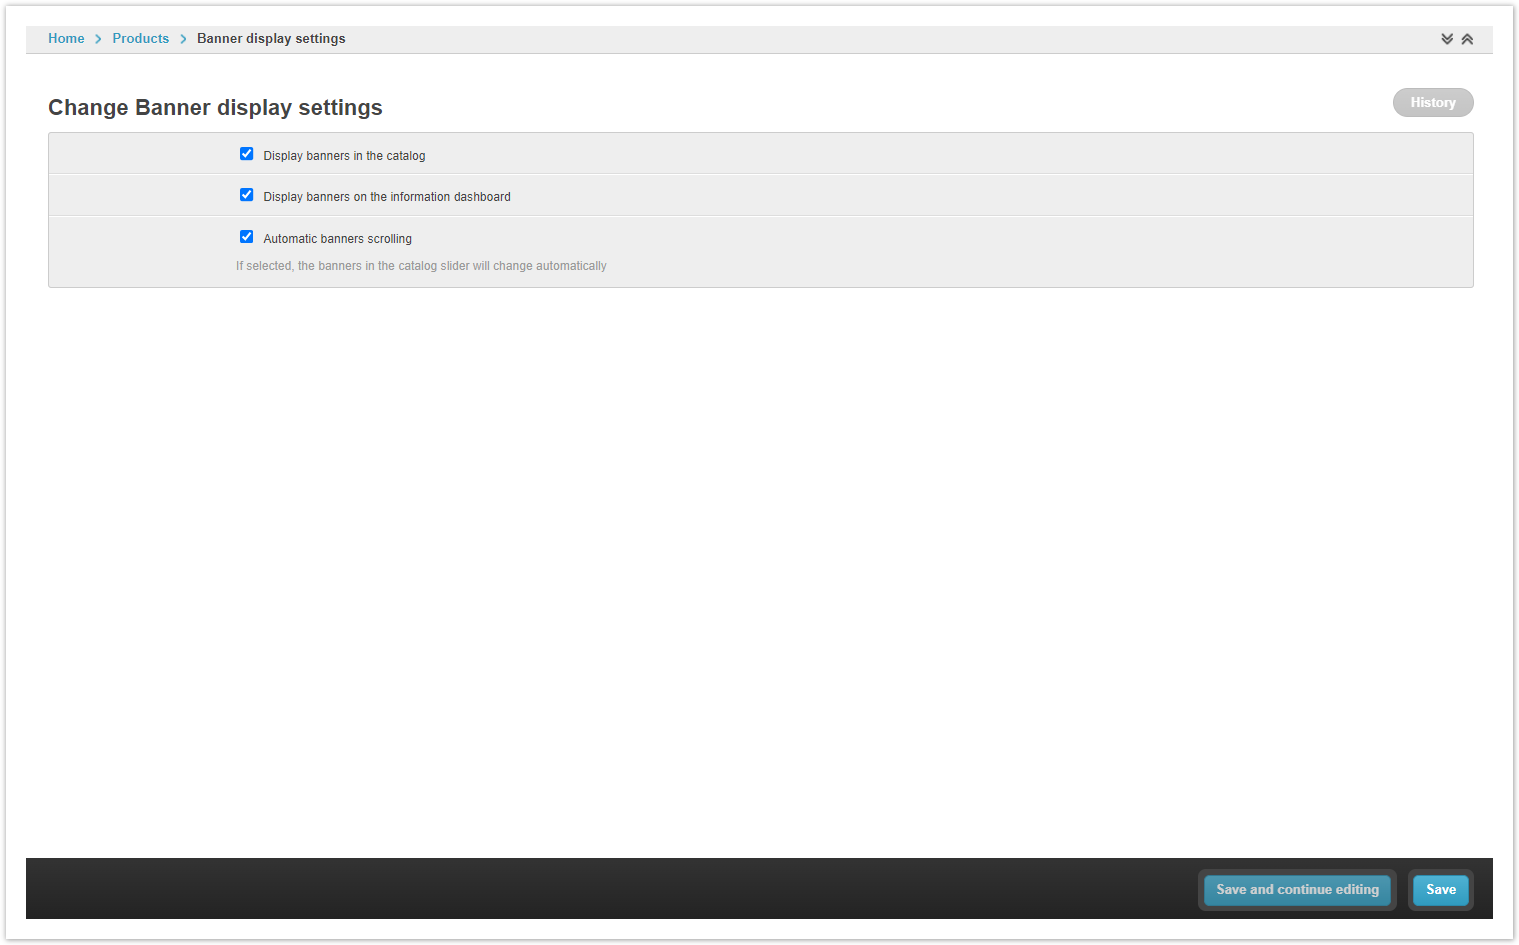
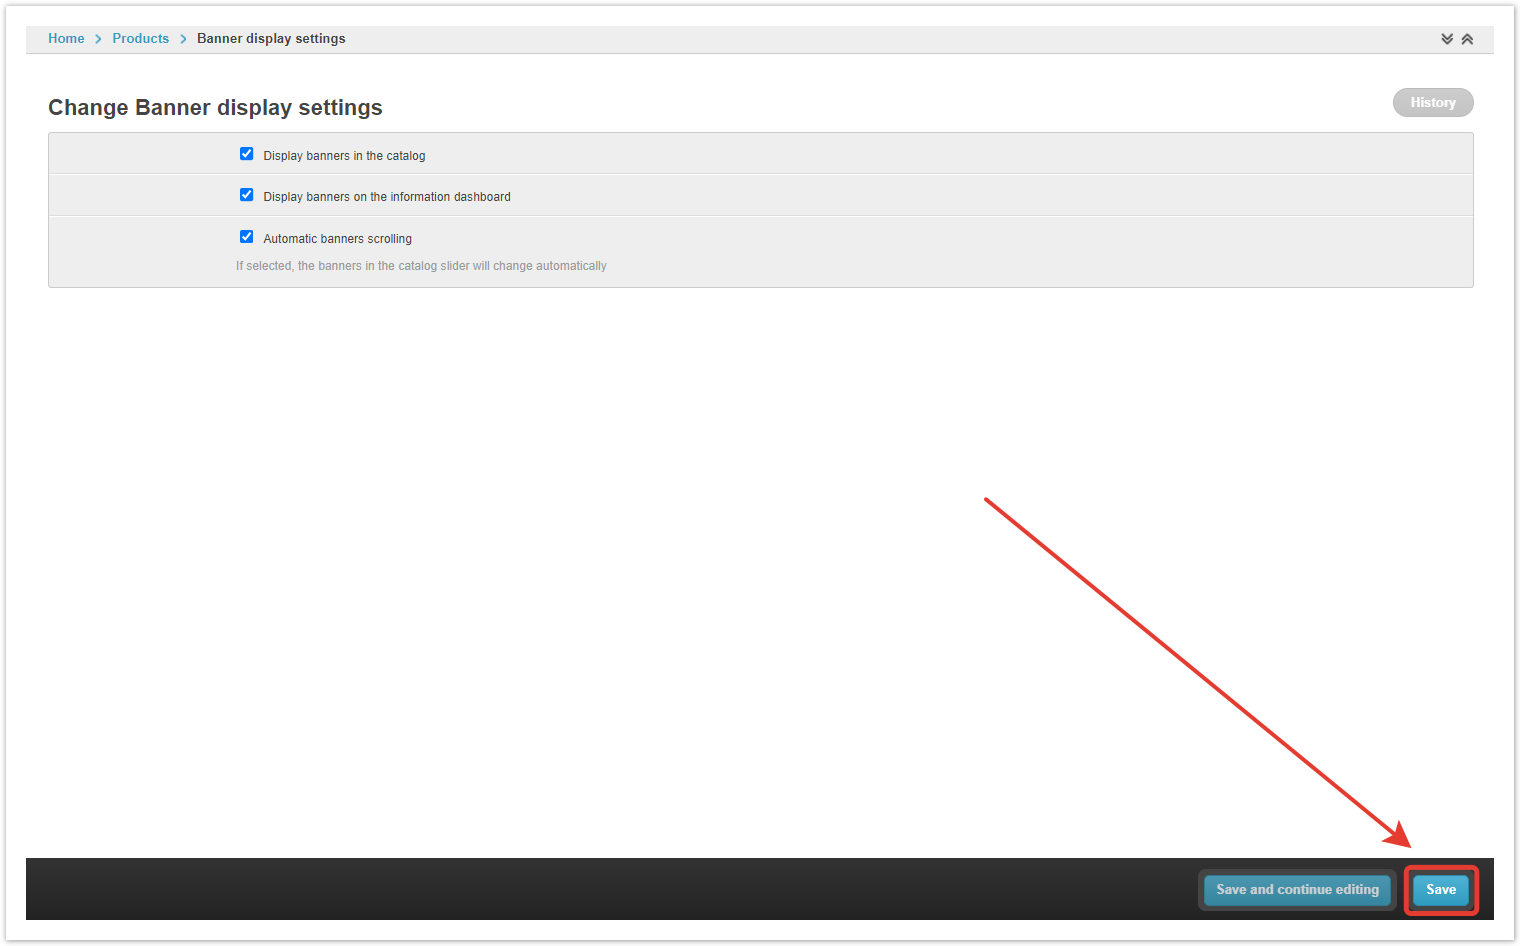
Banner display settingsIn this section of the administrative panel, you can change the type and method of displaying banners in the catalog.
Display banners in the catalog — checkbox enables/disables banners in all directories. Display banners on the information dashboard — allows you to display banners in the Information section of the user's personal account. Automatic scrolling of banners — when the checkbox is checked, the images will be scrolled automatically. After completing the settings, Save the changes.
|

...